Specify document delivery
After you configure document generation settings in the Document Run dialog, the Delivery step allows you to specify how and where to distribute your generated document. You can choose to download the document, send it via email, or attach it to a note in your Dynamics 365 app. Each delivery option provides specific settings you can configure before proceeding to the summary and running the configured Document Flow.
Prerequisites
- You have one of the following Docentric CE security roles assigned:
- Docentric CE User or
- Docentric CE Maker or
- Docentric CE Administrator
- You have completed the Configure document generation step and selected Next
Specify delivery destination
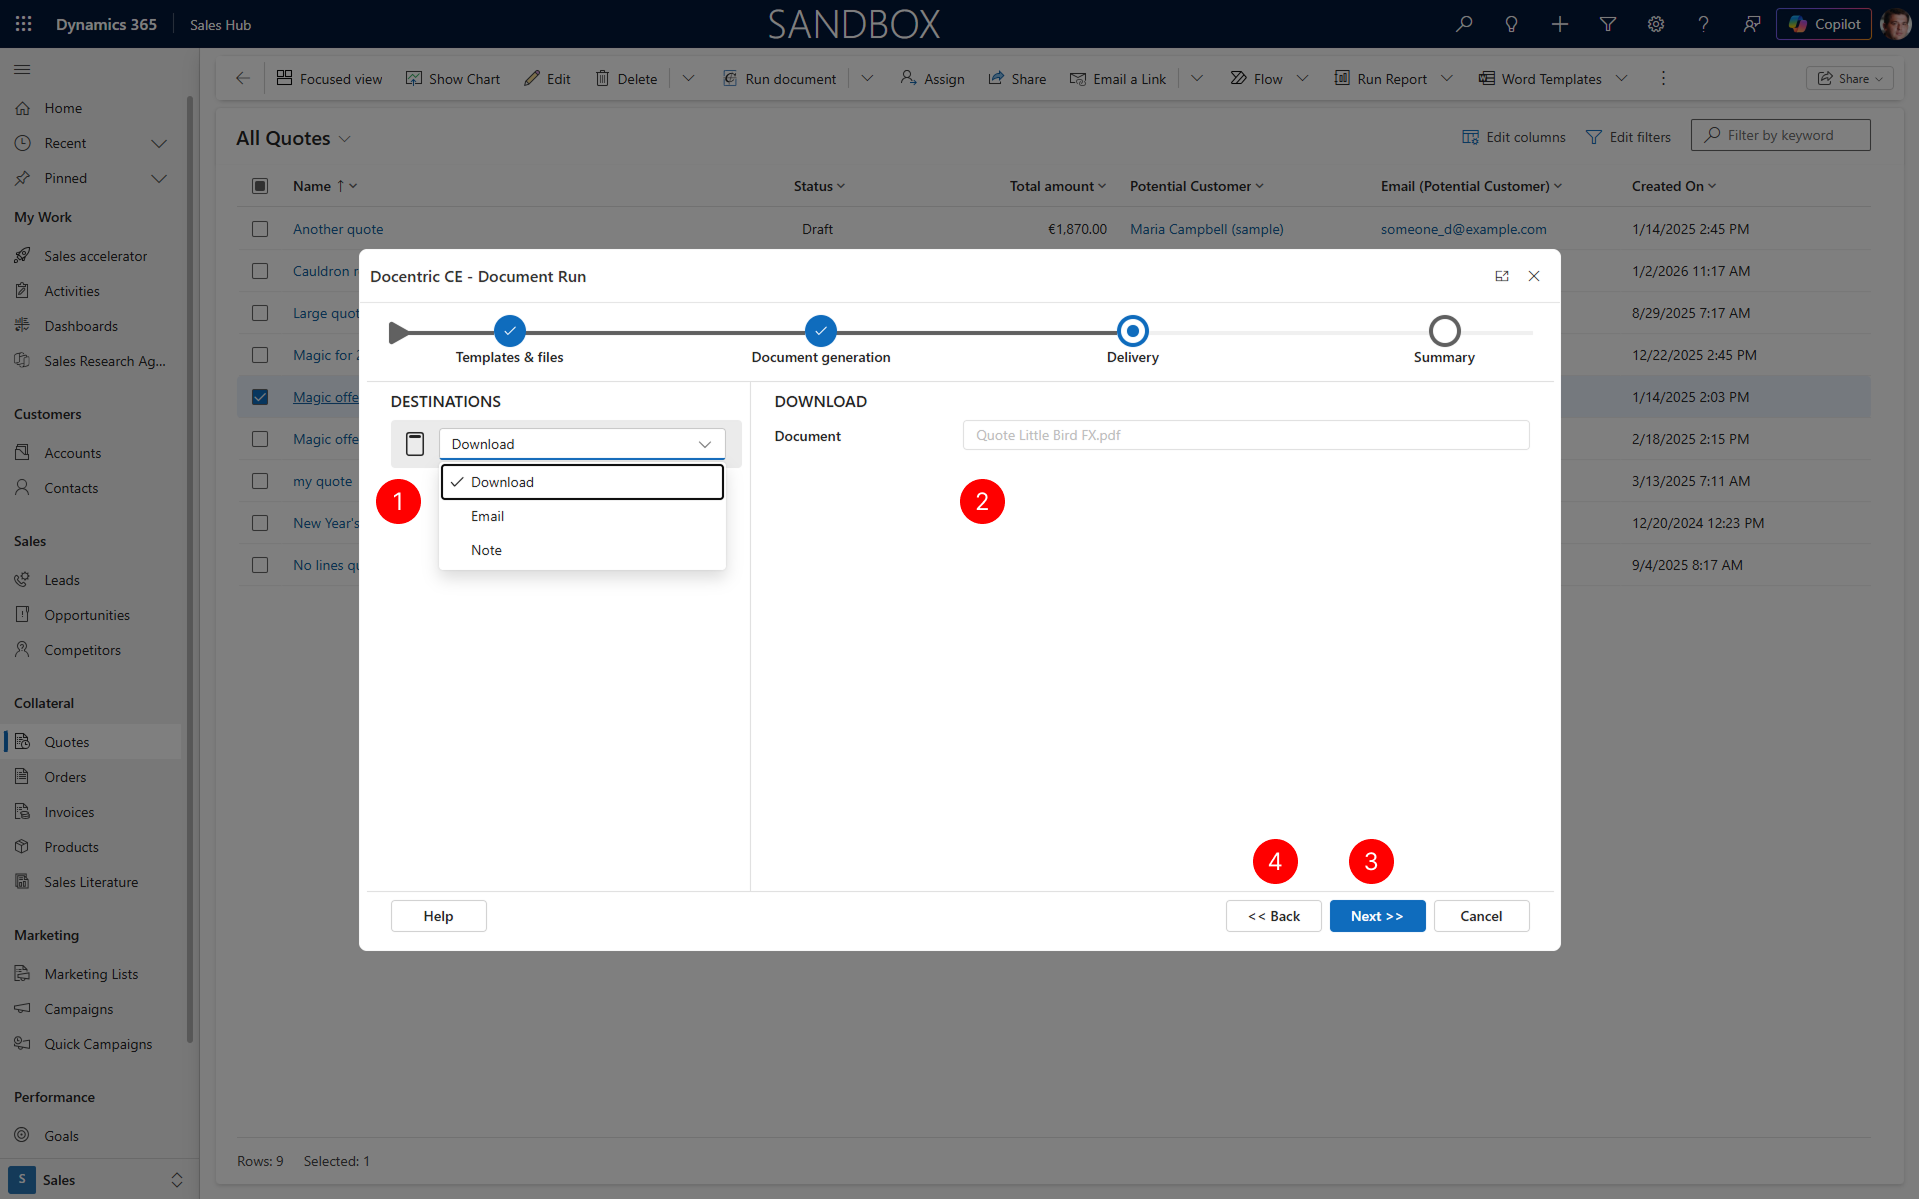
The Delivery step displays DESTINATION panel on the left, which shows the available delivery options. Choose your preferred delivery method:
- In the DESTINATION panel, select one of the available delivery options:
- Download – The generated document will be downloaded to your computer
- Email – The generated document will be sent via email
- Note – The generated document will be attached to a note on the selected record
- Based on your selection, configure the appropriate settings in the right panel as described in the sections below.
- After you configure your delivery settings, choose Next to proceed to the Summary step.
- If you need to modify your document generation settings, template, or language selection, choose Back to return to any of the previous steps.
Download destination
When you select Download, the generated document will be saved to your computer's default download location. This option requires minimal configuration.
- In the DOWNLOAD panel on the right, review the Output file name field, which shows the name of the file you will download. This name was set in the Document generation step.
- The file extension will be added automatically based on the output format you selected (either
.docxfor Word or.pdffor PDF).
Email destination
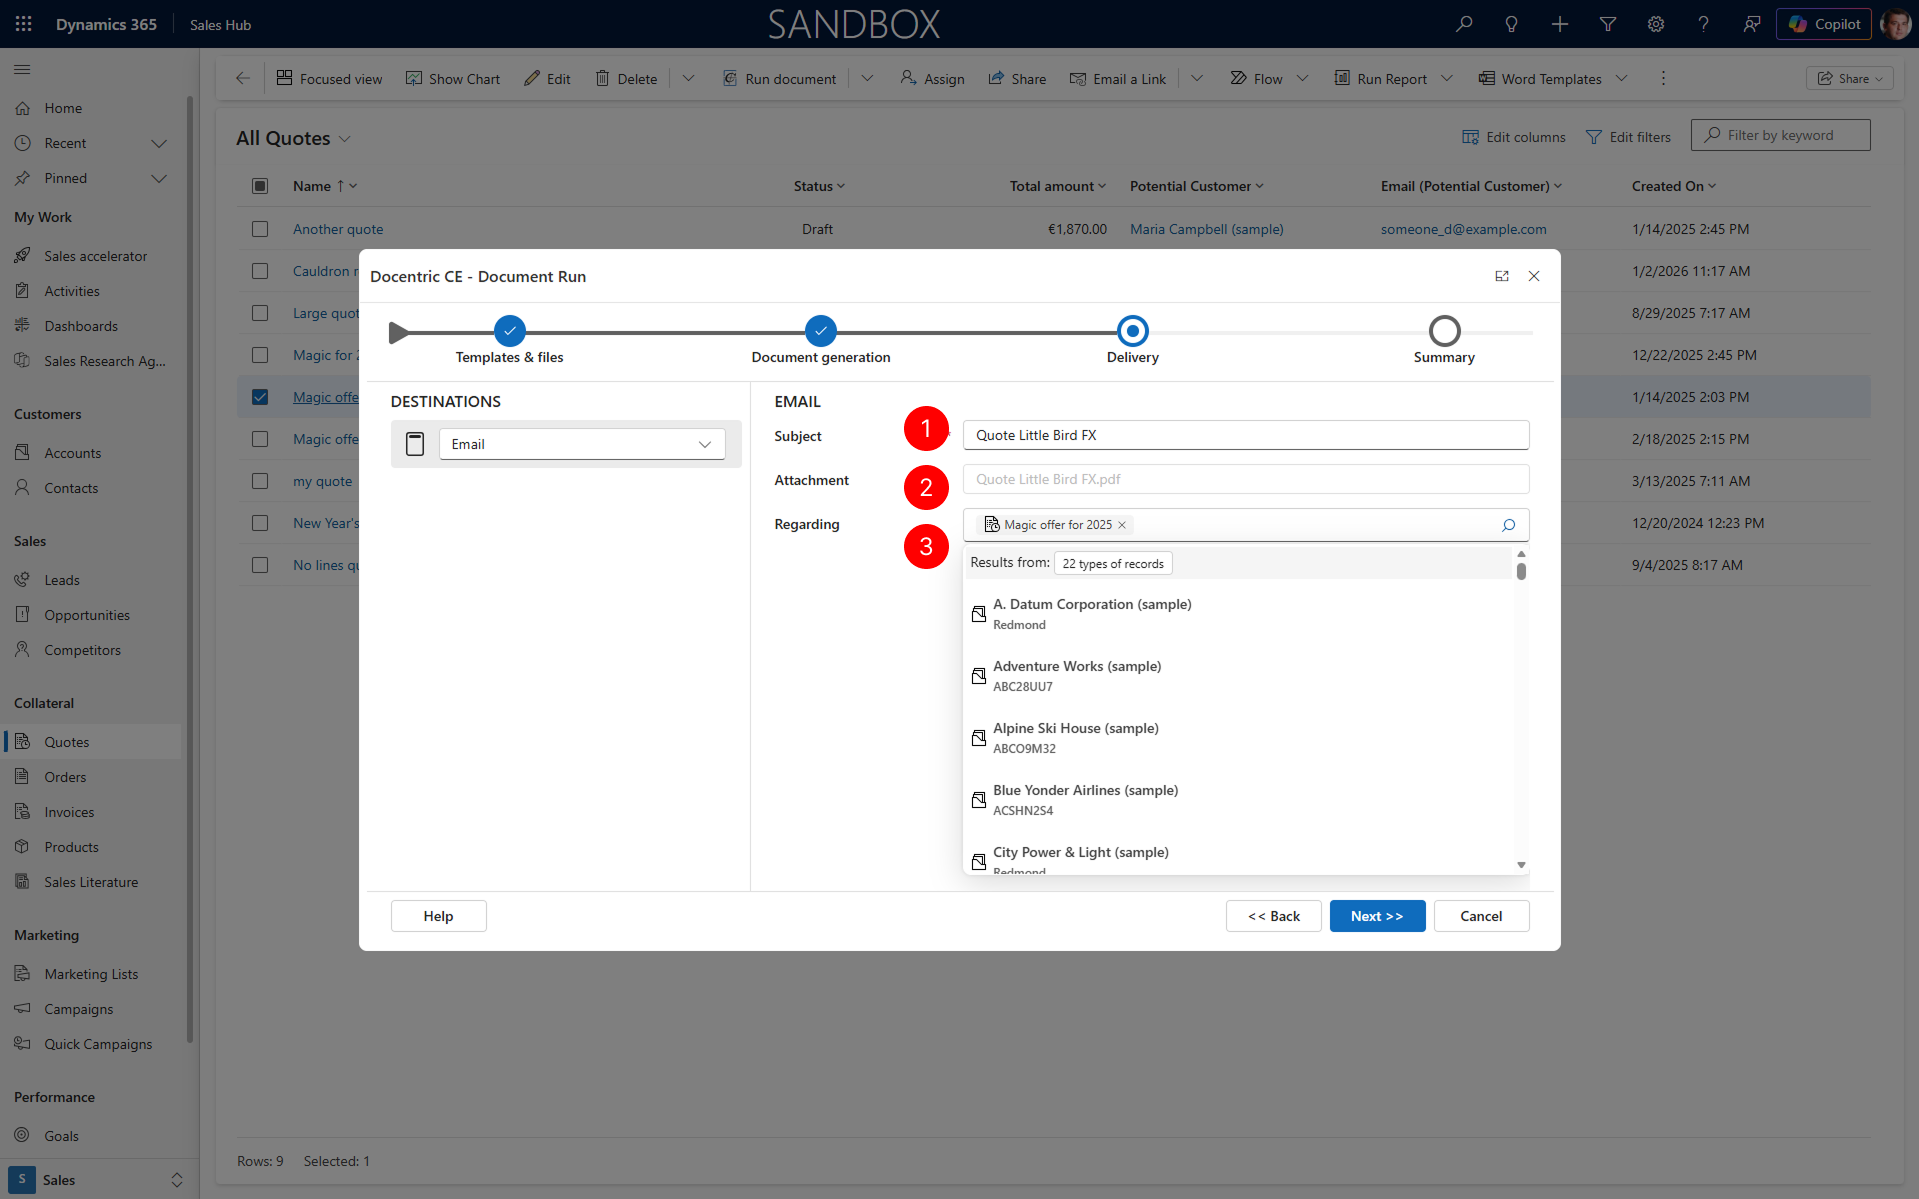
When you select Email, an email record is created and the generated document is added to it as an attachment. You can edit email message and send it when you're ready. You can customize the email subject and specify what the email is regarding.
- In the EMAIL panel on the right, the Subject field, you must enter the subject line for the email that will be sent.
- In the Attachment field, view the name of the generated document that will be attached to the email. This field is not editable. The generated document is always automatically added as an attachment to the email.
- In the Regarding field, select what type of record and the record the email is regarding. This field allows you to link the email to a specific record.
NOTE
For documents based on entities that don’t support activities, the Regarding field is disabled, so you can’t set it. You can still send the email, but it won’t be linked to a specific record.
Note destination
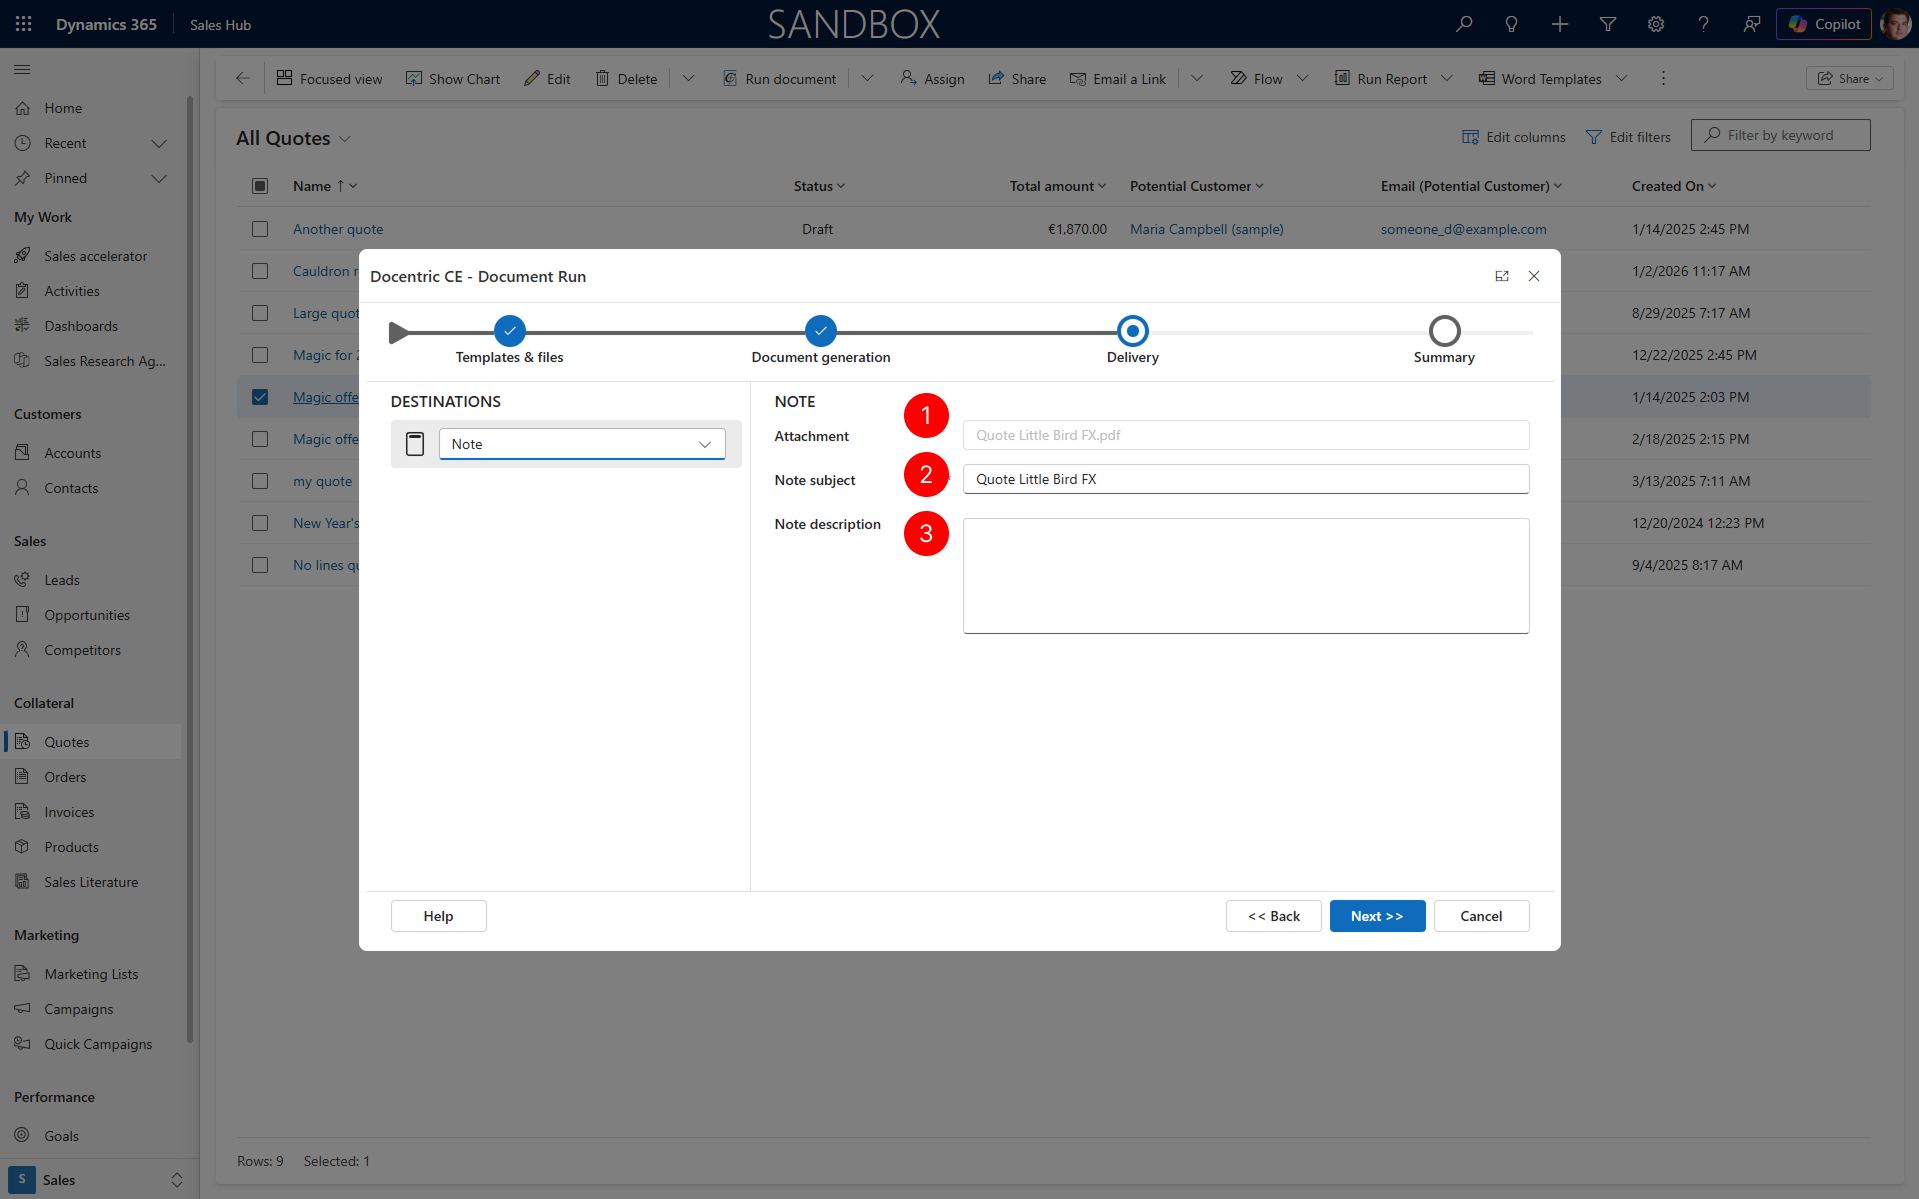
When you select Note, the generated document is attached to a note on the selected record. You can specify the subject and description of the note.
- In the NOTE panel on the right, the Attachment field, view the name of the generated document that will be attached to the note. This field is not editable; it was set in the Document generation step.
- In the Note subject field, you must enter the subject of the note that will be created.
- In the Note description field, enter the description or body text of the note.
NOTE
The Note destination is only available for entities that support notes. When generating a document for an entity that does not support notes, you won't be able to pick Note as one of the deliver destinations.
Next steps
Summary - Learn how to review your selections and generate your document