Preview document templates
Previewing allows you to see how your Document Template will look when populated with actual data. You can generate preview documents in Word or PDF format, select different languages, and modify sample data to test various scenarios.
Word Template Designer supports two types of previews:
- Standard Preview: Generates a static preview document on-demand based on the current template design and sample data.
- Live Preview: Provides real-time updates within the designer interface as you make changes to your template.
While most functionality described in this articles applies to both preview types, this article focuses primarily on the standard Preview.
Prerequisites
- Template Designer installed. For more information, see Install Docentric Designer.
- A document template set up with a Data Source Package (DDSP) loaded. For more information, see Set up a document template.
Generate a preview document
Generate a preview to see how your template renders with sample data in Word or PDF format.
- In the Preview group, select Run.
- Select the output format:
- Word to generate document preview in Word format
- PDF to generate document preview as a PDF file
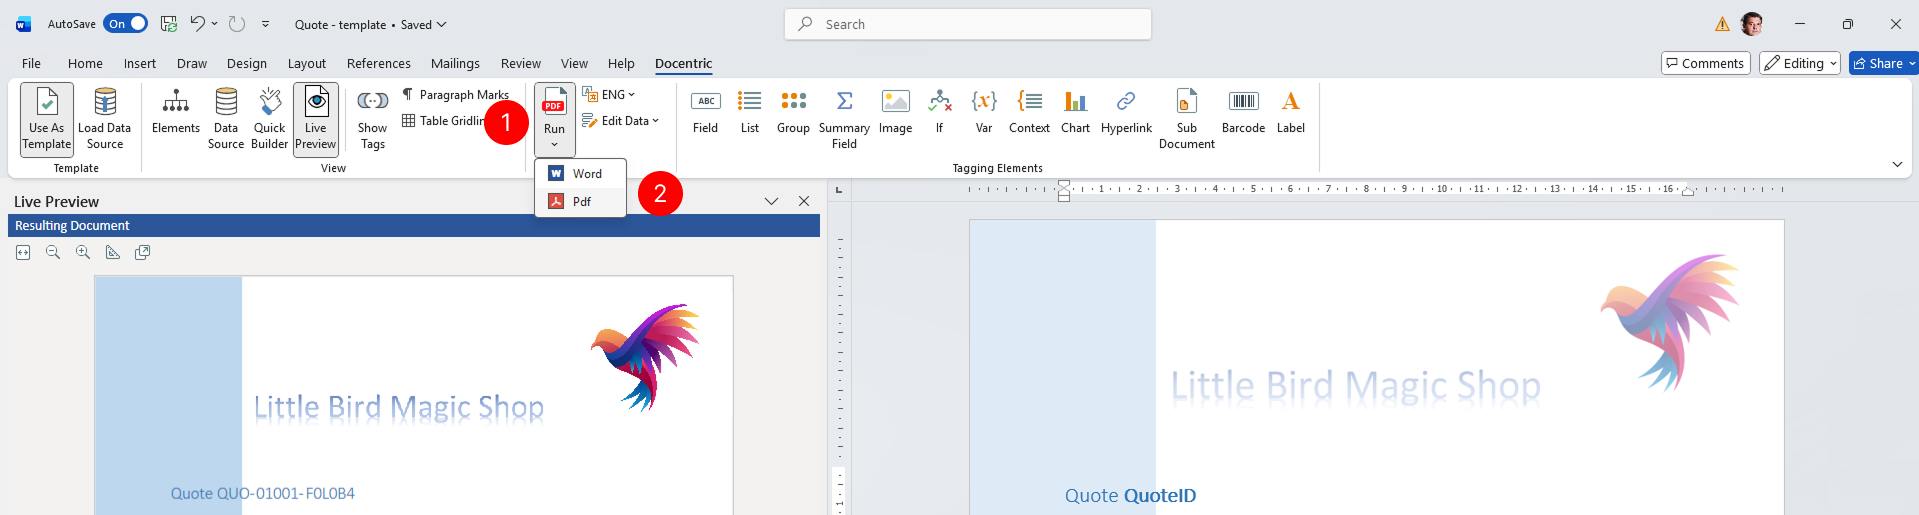
The preview document opens in a new window, showing how your template looks when populated with the sample data from your Data Source.
Select a preview language
Change the preview language to see how label translations and regional formatting appear in different languages.
- In the Preview group, select Preview Language.
- From the dropdown menu, select the language you want to use for the preview and preview result in Live Preview pane.
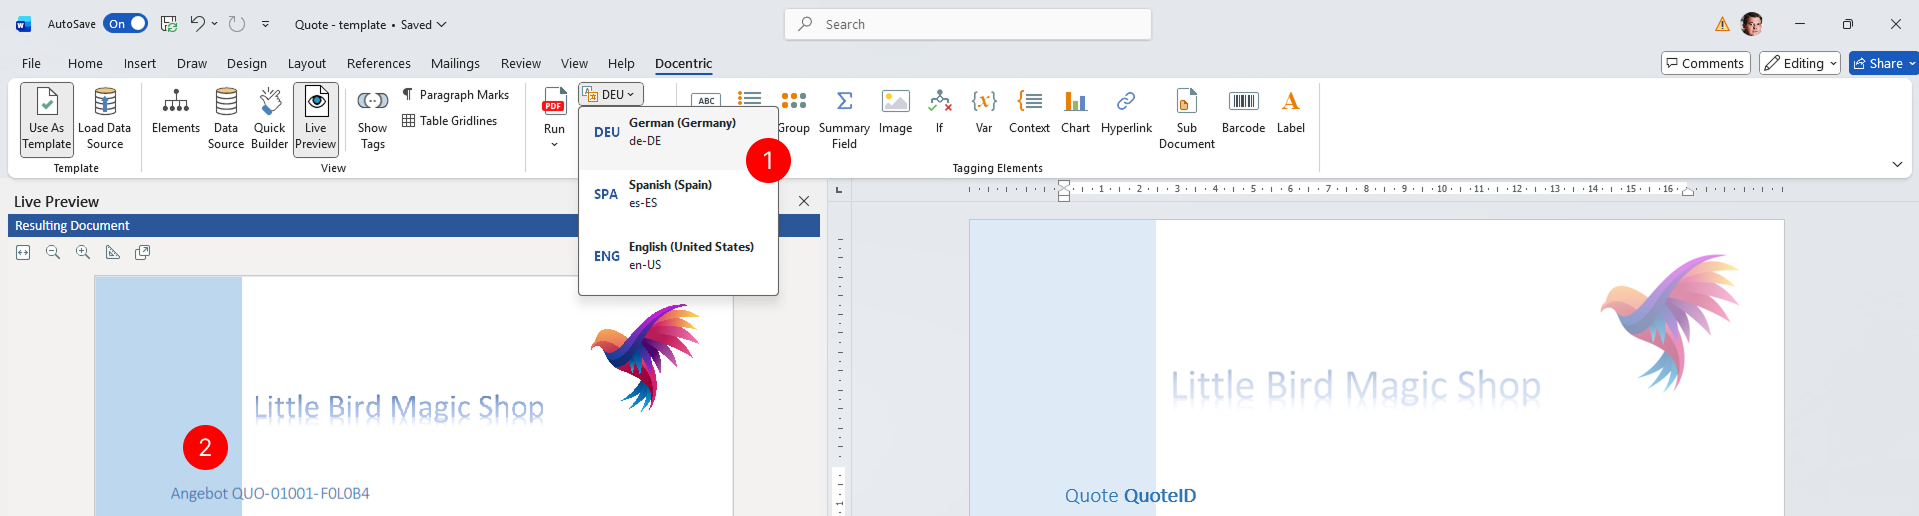
The selected language determines which label translations are used for Label tagging elements and how numeric and date-time values are formatted in the preview.
Edit preview data
Modify the sample data to test how your template behaves with different data values.
- In the Preview group, select Edit Data.
- In the Preview Data dialog, locate the data field you want to modify in the XML structure and edit the value directly in the XML editor.
- Select OK to save your changes.
- Verify sample data changes in Live Preview pane.
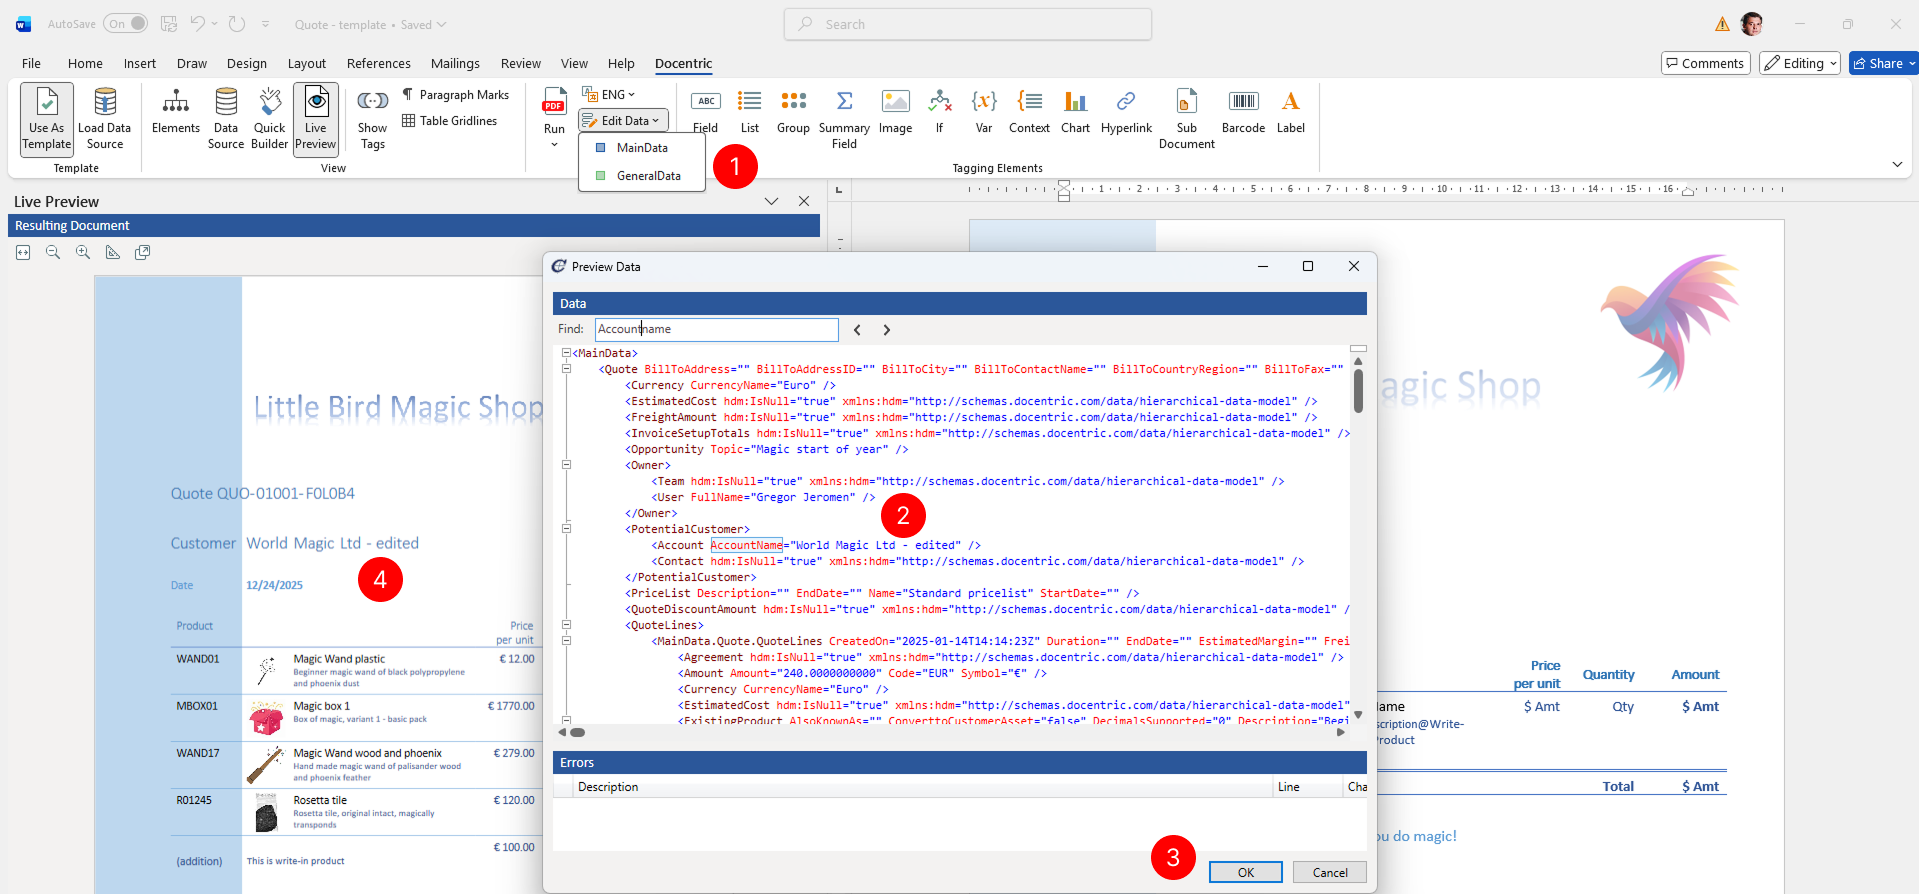
The modified sample data is now available for use in your next preview. You can edit field values, add or remove records, or change any part of the sample data structure to test different scenarios.
TIP
Use Live Preview in the View group for real-time preview updates as you design your template. Live Preview shows changes immediately within the designer interface without generating a separate document file, without generating a separate preview document.